
Guide to Bikepacking

In these wild times, the best way we know of to fully recharge is to get outta Dodge for a weekend of bike-camping. With a little planning and some simple gear tips, we’ll get you primed for the kind of adventuring that gets you back to the simple life and soaking up the open road.
#1 STATE OF MIND
Curiosity is the first and most important ingredient to grabbing life by the horns and trying a new way to wander! Are you searching for the highest road in the North Cascades? Ever wondered if you could skinny-dip a different river every day for a week on end? Piqued by making pizza over the hot coals of a campfire?
We are too!
There’s the folks who spend their lives wondering, and then there’s the folks who are hellbent on turning curiosity into discovery in order to find out what the world is made of. We’re thinking you’re in the second camp.

#2 ESSENTIAL GEAR
A bicycle with gears and a rear rack is the first essential tool to getting started with bike touring. Pop some panniers filled with provisions on your rear rack to let your bicycle do the heavy lifting. But riding loaded with camp supplies will turn your bike from a mustang to a burro, so having gears will make those stout climbs so much easier to conquer.
Your roving home should include shelter (a tent, tarp, bivy or hammock), a ground pad and a sleeping bag. If you’re shopping around for a bag, we’re head-over-heels for natural goose down because it’s highly compressible and hella cozy--but beware--down and moisture are not compatible, so if there’s even a chance of rain, keep your bed kit in drybags to avoid a cold, soggy night. If you’re sharing a tent with a partner(s), share the love while you’re packing and riding! Split up the footprint, body, and rainfly between you to distribute weight evenly and save space for all.
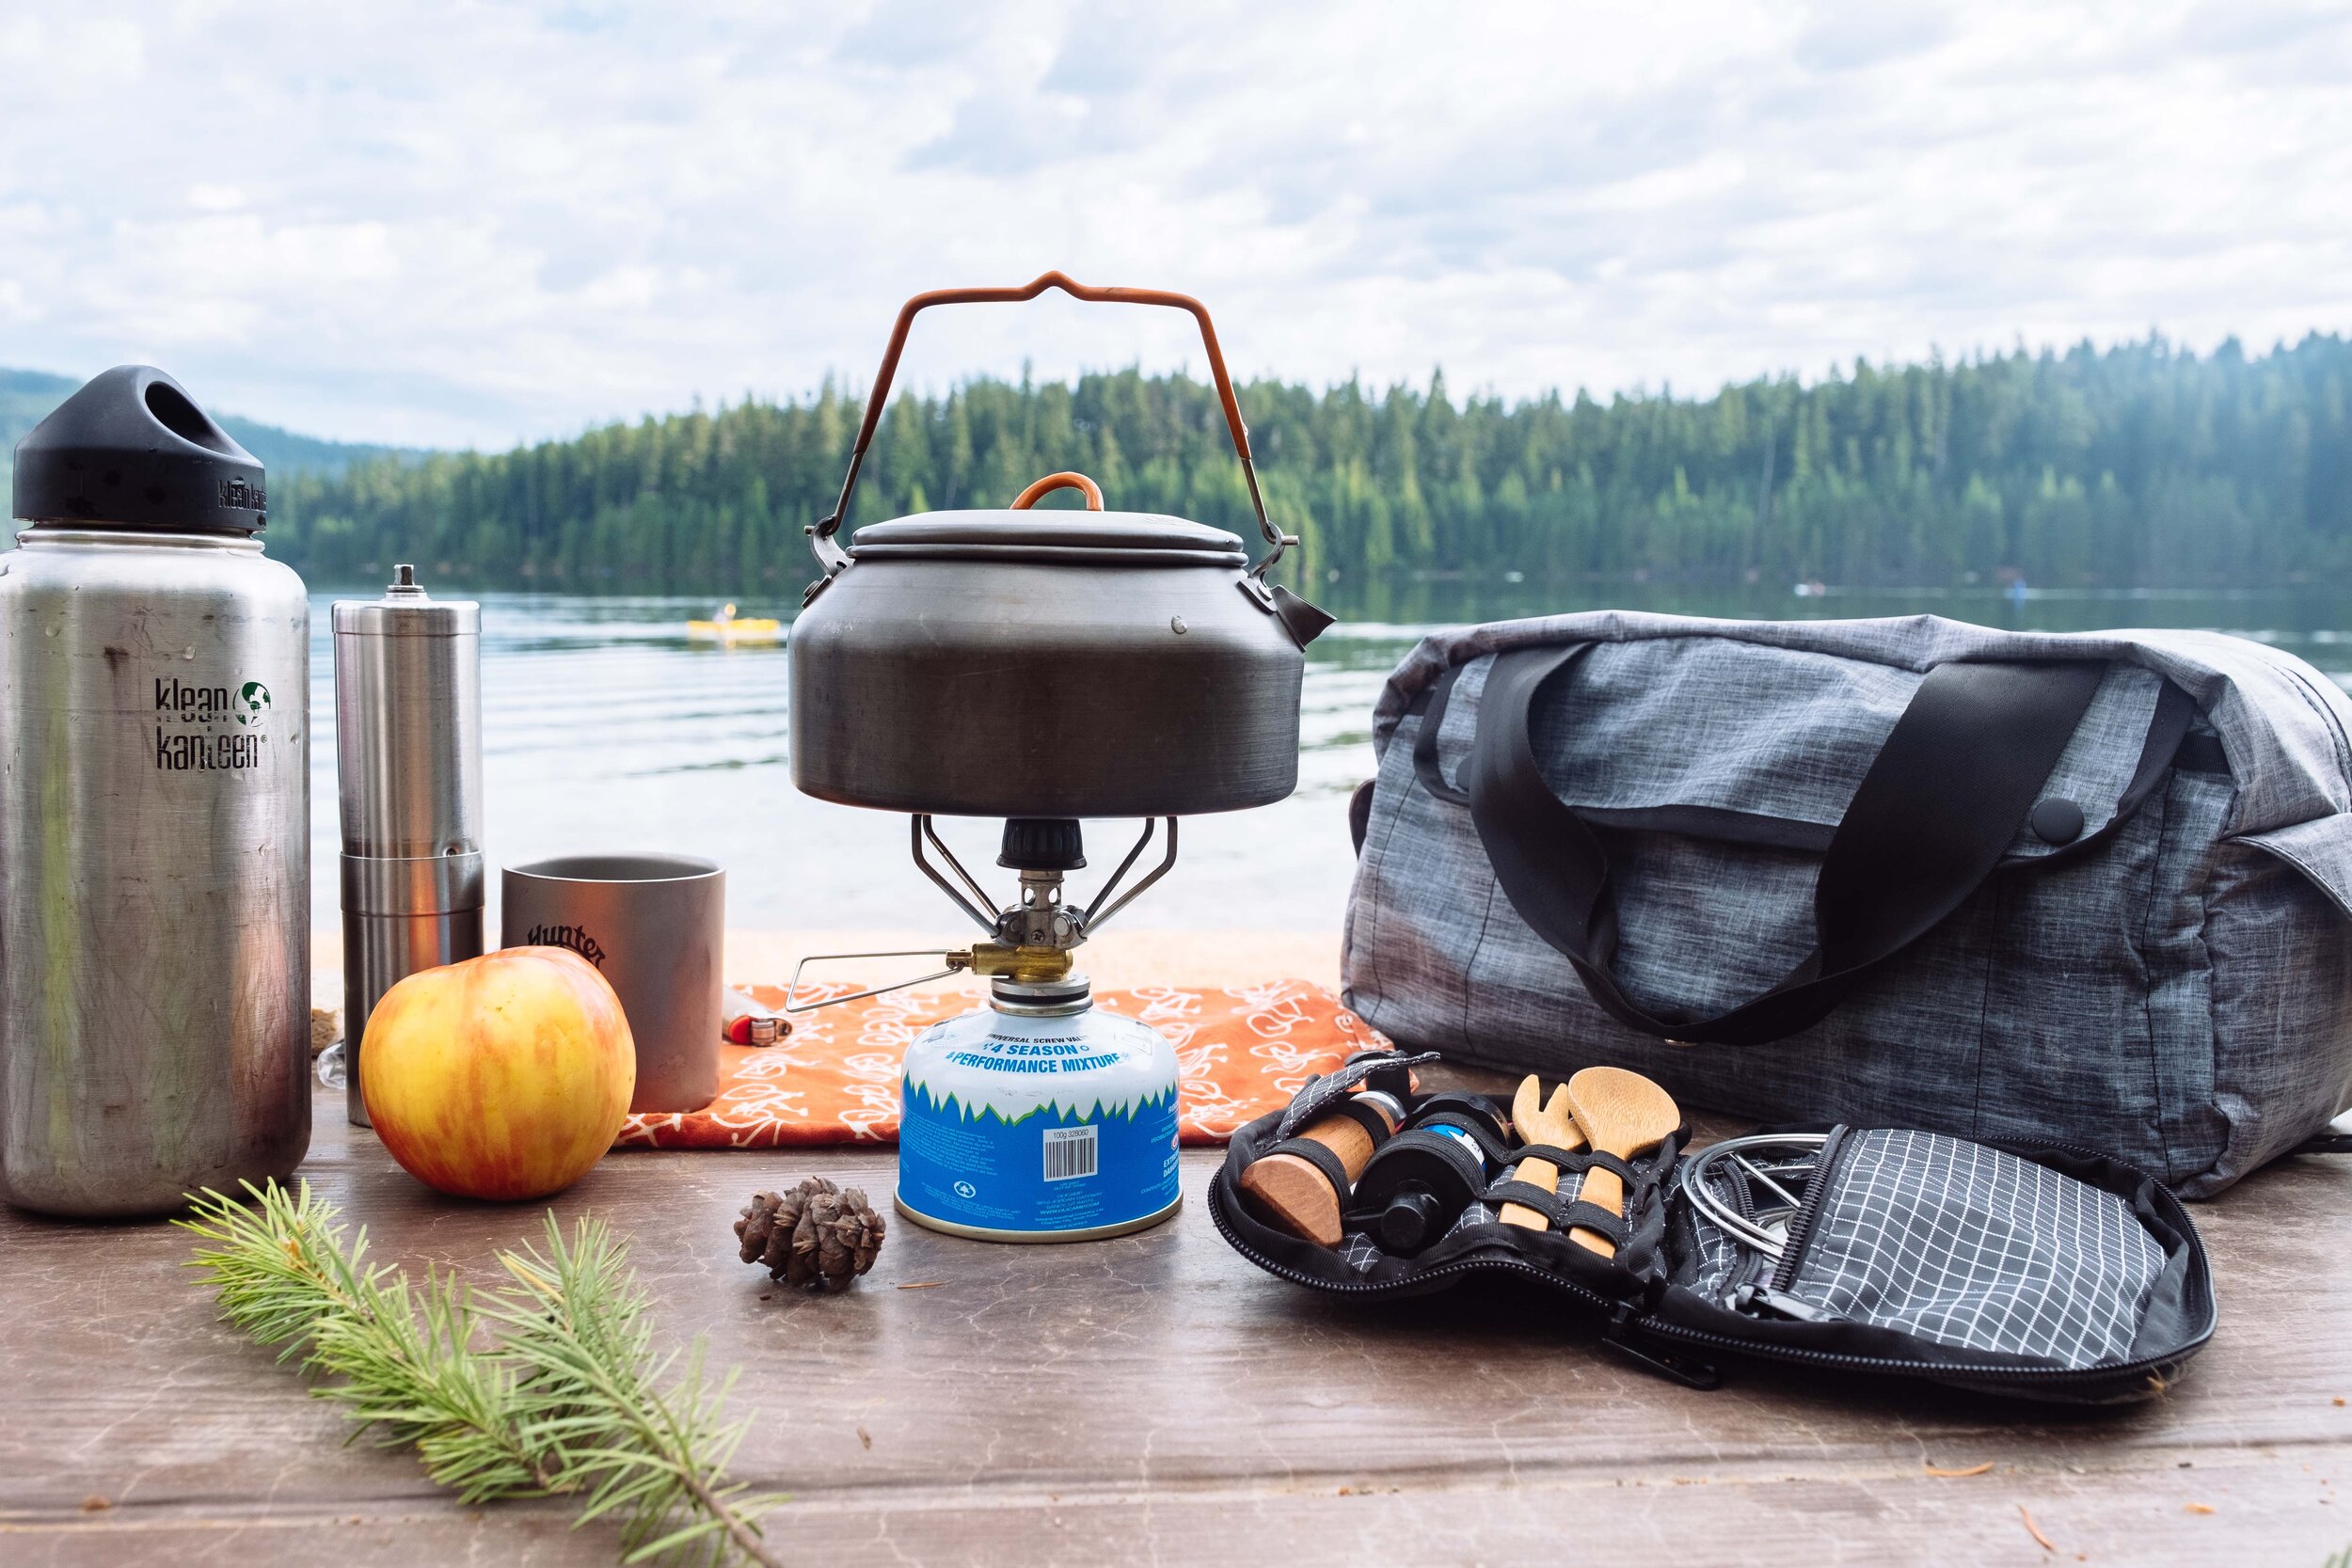
The adventure kitchen should be small and packable. Our kit includes:
a cutting board out of food-grade plastic
a sharp knife
a spork
spice kit (small containers of salt, pepper, cumin, chili, honey, etc)
small plastic bottle of cooking oil
a 1L pot and pan
a backpacking stove with fuel
coffee kit
a mug for both eating and drinking
#3 A GAME OF TETRIS
The art of packing is mastered through repetition over time, and we’re eager to share what we’ve learned. Packing with evenly distributed weight between your two panniers is the first thing to practice. It takes lots of effort and strength to steer an unbalanced bicycle over the course of a weekend, so best to pack with balance in mind.
If your bags look like a lumpy sack of potatoes dump ‘em out and start again! Pre-planning is key. Think of your empty spaces first. Use the soft stuff like socks, leggings and your puffy jacket to fill in the area around hard goods, like mortar between bricks. Put your fuel canister in an empty cook pot, then utilize the rest of that dead space with something soft, like socks or your kitchen rag. A tent can be attached to the top of the rear rack to leave space inside your touring bags for weather-sensitive provisions. A little mindfulness goes a long way: put sensitive gear like down sleeping bags and electronics in seam-sealed bags. There’s nothing like the comfort of crawling into a warm, dry bed if the weather’s gone to shit!
Think about accessing your gear in terms of when you’ll use it. Example: if you’re bringing a beanie for a chilly night at camp, then you can confidently bury it with your evening kit in a more difficult to access location. On the other hand, things you think you’ll use during the actual ride should be segregated and packed towards the top of bags for quick and easy access (think snacks, water reservoirs, sunscreen, extra layer, etc.)
Last but not least, shrink everything! Think as efficiently as possible about space. Start with acquiring a few compression stuff sacks so you can squeeeeeeeze your soft goods down as compact as possible. Think about how much stuff you’re bringing in general. Can you get away with just one warm layer instead of multiple? Do you really need that whole tube of sunscreen, or the entire salt shaker? Film canisters and Ziplocs work great for this sort of stuff, or if you want to invest in reusable storage, any outdoor retailer will offer cheap options for camp containers. This is prime time to get really obsessed with how you pack!

#4 ROUTE PLANNING TIPS AND TRICKS
Our process begins at home with a paper map (remember those??), and then on the computer we do lots of cross-referencing with what Google Maps suggests for cycling out to, say, Heart O’ the Hills campground in Olympic National Park.
Start by plugging in your destination and toggling to bicycle mode in Google Maps, then start fine tuning the suggested route. Quiet roads are sure to impress, so when you’re planning, maximize those digital maps to reveal the backroads that every traveller longs for. Opt for roads with old in the title. “Old Woodinville-Duvall Road” has likely been replaced by larger more heavily trafficked thoroughfare, leaving the grandparent highway underused and laid back (though sometimes also a little more rolling).
Local knowledge is top-notch, and often surpasses what any mapping site can offer. Just remember that folks who typically drive can have different perspectives on distance and difficulty than someone who pedals it. “It’s just over that hill,” could have you pushing in the ditch for a mile.
#5 GOING THE DISTANCE
Folks often asked how far to ride each day. 45-50 miles heavy with camp equipment is a solid challenge that allows for exploring along the way. Keep in mind that 50 miles of flat roads with a heavenly tailwind is very different from 50 dirt miles over mountain passes. Sometimes a day’s distance is predetermined by the distance between your chosen campgrounds, and you may have to pull a long day in the saddle to make it into camp.
Food is fuel. A good friend of mine once said, “Eat lots and eat often.” Nutrition and hydration are the key to longevity and happiness when you’re working hard and are at the whim of the elements. It took years to learn how to stay well fed and stoked--but once the algorithm revealed itself, the miles were better and we explored much further. The four ingredients for stellar miles: listen to your body, snack tons, drink plenty, and eat good food!
#6 TRAIL-SMARTS
Now’s the time to get comfortable with fixing flats and the basic bike maintenance you’ll need to confidently spend a few days on the move. Local bike shops usually teach “fix-a-flat” classes and can help acquaint you with the parts of the bicycle that will purr with a dab of lube. Include a spare tube, a patch kit and pump, some tire levers and a multi-tool in your repair bag. Zip ties make for impeccable MacGyver-ing, and don’t forget a roll of duct tape. An old bandana works great as a mobile mechanic’s rag and takes up very little space in your fix-it kit.
Riding in traffic is the riskiest part of being on a bike. Be visible! Do your best to ride in a steady and straight trajectory, and ride in the shoulder whenever possible. We love riding dirt roads and trails for this very reason, but it’s always essential to stay alert.
Whether you’re setting up camp in an established campground, or heading to a secluded spot in the backcountry, we think it's worth mentioning that the ethos of leave-no-trace runs deep in the bicycle-adventure community. Please do your part and leave a picnic spot or campsite in better shape than when you arrived. For us, the spirit of living on-the-fly is imbued with tons of respect for Mother Nature, all her creatures, and the folks who call the area home. This means cleaning up, packin’ out, poopin’ 6-8” deep when there’s no privy, and moving along with minimal impact.
#7 THE SIMPLE LIFE
Relish your days of vagabonding by bicycle. Listen to the birds chirp and the muskrats slip into the lake for a pre-dawn swim. Check out a fishing town and enjoy the local scene wherever your wandering ways take you. It’s all about tuning in and dropping out. Start paying attention to where you are in the moment and walk away from the daily grind to get perspective and reorient yourself. The magic of bike-camping is that it’s equal parts going there and getting there.
AUTHOR BIO:
Martina is the co-founder and head honcho of Swift Industries, a bicycle bag brand from Seattle, WA. Martina fuses her love of remote cycling with a libertine color sense to bring a fresh aesthetic to bicycle touring and commuting bags. Swift is a creative force in the adventure-cycling scene, and has stoked wanderlust worldwide through events, storytelling, and its original approach to product design.
With the sixth annual Swift Campout coming up, we turned to the folks at Swift Industries to give us a dose of the love for adventuring by bicycle that fuels their work.